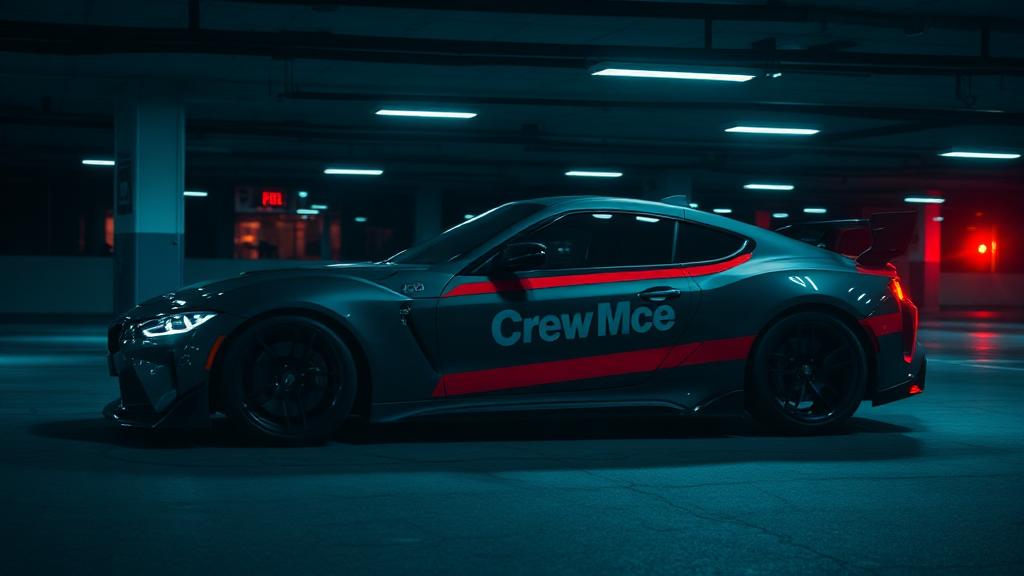
By Tier 3 the field is wide enough that a general-purpose car stops being competitive everywhere. This is the point to start choosing deliberately.
Decide what the car is for
Crew content, restricted events and open racing pull in different directions. Pick the one you spend most time on and build for that, accepting that the car will be merely acceptable elsewhere.
Balance beats headline power
A car that can use its power is worth more than one with a bigger number and no traction. If your launches are still inconsistent, weight the choice toward stability.
Check the restriction landscape first
Before committing money, look at which restrictions come up regularly for you. A car that qualifies for content you run weekly is worth far more than a marginally faster one that does not.
Upgrade in the right order
Fix grip until the car launches cleanly, then add power, re-testing after each step. Buying power first is the standard Tier 3 money sink.
Tune and log immediately
Tier 3 is where a tune log stops being optional. You will now own several cars with several viable setups, and memory is not a storage medium.
Related CSR2MODX reading: Beginner roadmap · Best cars · Tier 4 transition
- restrictions
- crew